The Linocut Process
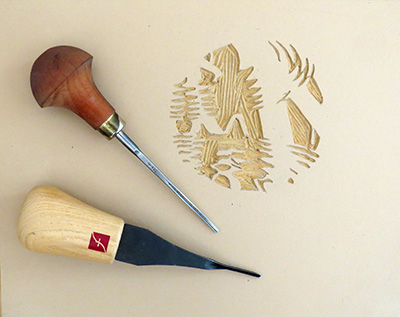
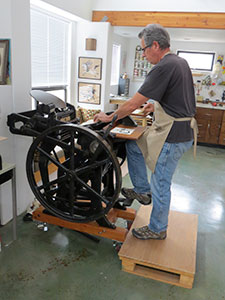
Linoleum block printing is a great medium: the blocks and tools are inexpensive and the process of carving and printing is very straightforward. I carve my lino blocks in the traditional manner. Where my process differs is in the printing. Here's a quick overview.
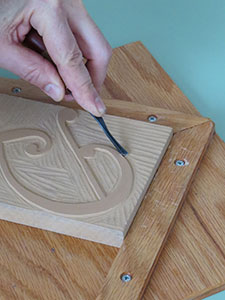
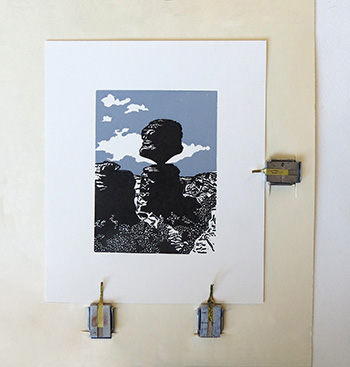
For linocuts that require two or more colors, the challenge is to make sure that everything lines up (is properly registered). Gauge pins are used for this purpose. The photo below shows three gauge pins around a printed piece. (By convention three pins are used, two on one side and one on the other.)
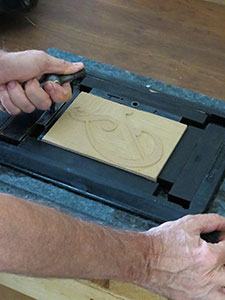
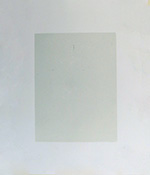
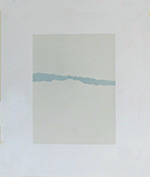
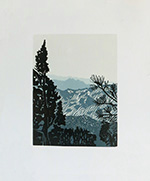
The photos below show the printing sequence for a piece that required six linoleum blocks and six impressions. Gauge pins are indispensable for making sure all these impressions line up accurately.
 |
 |
||
first impression |
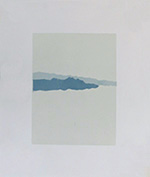
second impression |
||
 |
 |
||
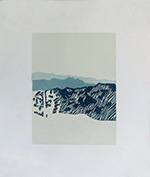
third impression |
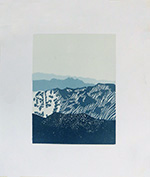
forth impression |
||
 |
 |
||
fifth impression |
sixth impression |
||
I use rubber-based printers ink for my linocuts, rather than the ink you find in art stores. I'm used to working with this kind of ink so it just makes life easier.
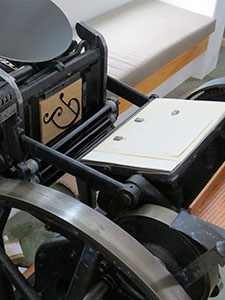
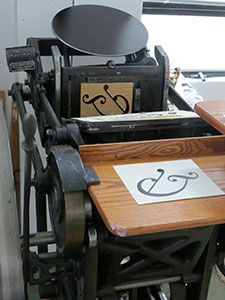
For test prints, or when I'm just experimenting, I usually don't ink up the press; instead I apply ink to the linoleum block with a brayer (roller), then put the inked block in my press. The block needs to be re-inked for each printed piece when using a brayer. The advantage to the brayer method is that I don't have to clean the press, which takes time and is not all that much fun. The main advantages to going to the trouble of inking up the press are that I can print much more quickly and I have much more control over ink coverage.